Data Science Setup on Apple Mac M1
A Beginner’s Guide For Installing Data Science Libraries on the new Apple Mac M1

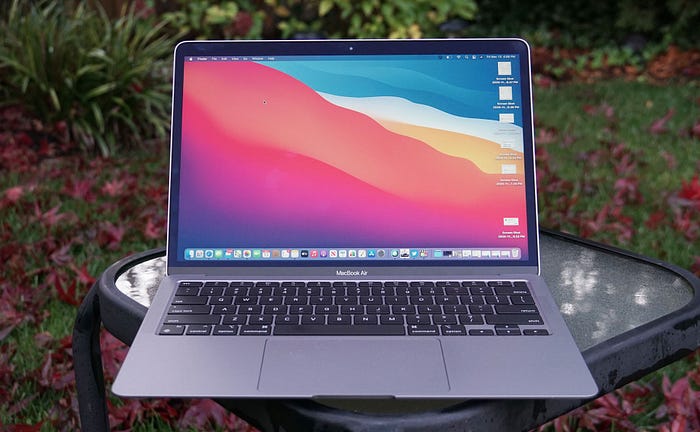
Apple debuted the new 13-inch MacBook Pro, MacBook Air, and Mac mini models in November 2020, the first Macs with an Arm-based M1 processor. The new Apple M1 chip is generating a lot of buzzes. So far, it’s outperformed all Intel has to do.
Check out this article by Daniel Bourke to get an idea about what the new Apple M1 chip can accomplish in the terms of performance in machine learning.
Even though, what the new Macs can achieve in the terms of performance for data science workloads, it’s still a task to put together a functional environment for data science on these machines. I faced a hard time myself to get this ship going but finally, I am able to set up a pretty decent data science set up for myself and while doing that I have created a sweet documentation for further reference. This article is basically a comprehensive guide for installing mostly required data science tools, libraries, and their dependencies on the Apple Silicon Macs.
Installing the tools and libraries
Homebrew
Homebrew is a free and open-source software package management system that simplifies the installation of software on Apple’s operating system macOS as well as Linux. Install homebrew from its git repo using
$ /bin/bash -c “$(curl -fsSL https://raw.githubusercontent.com/Homebrew/install/HEAD/install.sh)"Python 3.9.1
3.9.1 is the first version of Python to support macOS 11 Big Sur on Apple Silicon. It’s pretty simple to install python on Apple Silicon. Just download the appropriate(macOS 64-bit universal2 installer) .pkg file from https://www.python.org/downloads/release/python-391/ and install it using the package installer.

Conda
Working on data science projects, I’m used to using Anaconda; however, we need to use Miniforge to get particular packages to function. The following is the link to download the Miniforge installation script: https://github.com/conda-forge/miniforge. Choose the ‘arm64 (Apple Silicon)’ architecture.

Once the script is downloaded successfully, install it using the bash command.
$ bash Miniforge3-MacOSX-arm64.shInstall the package by answering the prompts. Once Miniforge is installed, you can activate the base environment to check if Miniforge3 is installed correctly by executing.
$ conda activate baseCreating a conda environment
Now that Miniforge is set up, we need to create an environment to use. I call my environment ‘ds’ but you can swap out any name you want and execute this command to create a new environment. Note: The reason for specifying the python version to 3.8 is a lot of libraries don’t have the support to the later versions yet.
$ conda create -n ds python=3.8Activate the created environment.
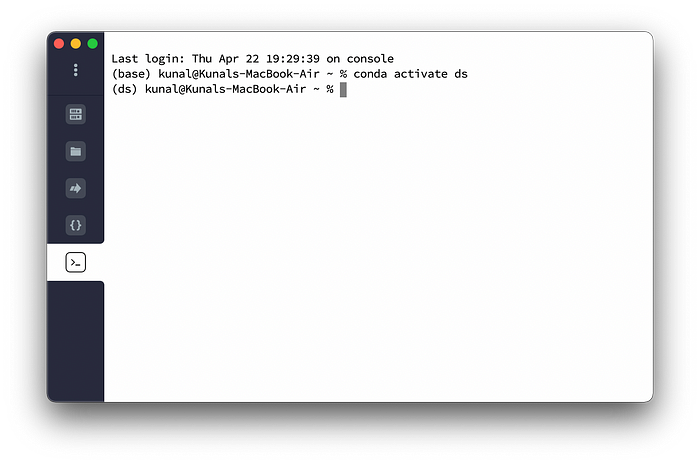
$ conda activate dsMake sure your environment is activated before you move further.

Pandas and NumPy
Numpy is an open-source module of Python which provides fast mathematical computation on arrays and matrices. Pandas provide high-performance, easy-to-use structures, and data analysis tools.
To install pandas and numpy
$ pip install cython$ OPENBLAS="$(brew --prefix openblas)" MACOSX_DEPLOYMENT_TARGET=11.1 pip install numpy --no-use-pep517$ OPENBLAS="$(brew --prefix openblas)" MACOSX_DEPLOYMENT_TARGET=11.1 pip install pandas --no-use-pep517
Pillow 8.0.1
Pillow is a Python Imaging Library that adds image processing capabilities to your Python interpreter. Note: This library is required to install matplotlib.
Pillow can be installed using two methods depending on which one works for you.
Method 1
Steps
- Find your tag using
$ python -m pip install packaging$ python -c"from packaging import tags; print('\n'.join([str(t) for t in tags.sys_tags()]))" |head -5

My tag is cp38-cp38-macosx_11_0_arm64.
2. Download 8.0.1 wheel from PyPI ://pypi.org/project/Pillow/8.0.1/#files

3. Rename the downloaded file to match your tag
$ mv Pillow-8.0.1-cp36-cp36m-macosx_10_10_x86_64.whl Pillow-8.0.1-cp38-cp38-macosx_11_0_arm64.whl4. Install wheel
python -m pip install Pillow-8.0.1-cp38-cp38-macosx_11_0_arm64.whlMethod 2
If this doesn’t work for you, you can also install Pillow by following these steps:
$ brew install libjpegDownload version 8.0.x from the git repository https://github.com/python-pillow/Pillow/tree/8.0.x and extract it in folder Pillow
$ cd Pillow
$ pip install . --no-binary :all: --no-use-pep517
Matplotlib
Matplotlib is a plotting library for the Python programming language and its numerical mathematics extension NumPy.
Install it using
python -m pip install matplotlibScikit-Learn
Scikit-learn is a free software machine learning library for the Python programming language. It features various classification, regression and clustering algorithms including support vector machines, etc.
If all the dependencies(dependent libraries) are installed successfully, scikit-learn can be installed using
conda install scikit-learnOther tools and frameworks…
I’ll continue this guide with the remaining frameworks like Tensorflow, Keras, jupyter-lab, notebooks in Part 2.
Check out the Part II of this guide
You can follow me on Twitter as I continue talk more about tech, finance, life, solving problems and growing together.
